Bottle Opener Project
Steps
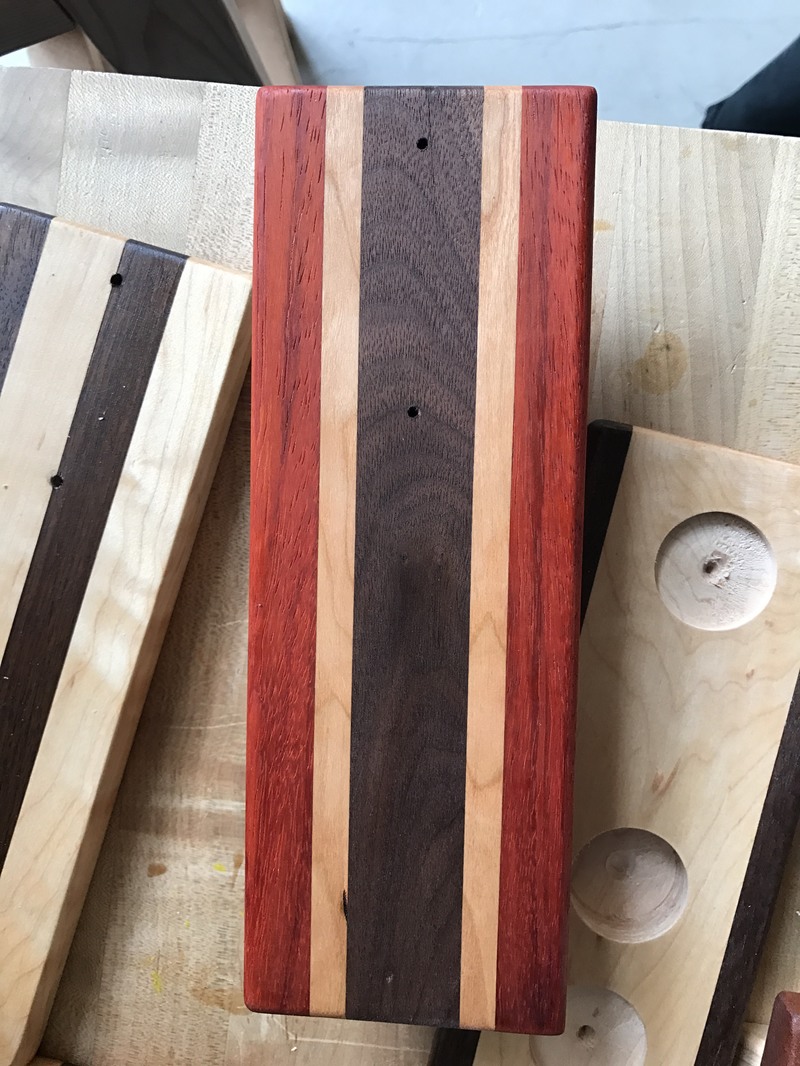
1. We picked out which wood we'd like to use and the design we wanted the bottle opener to be.
2. We glued all the pieces cut together in the order we chose and clamped it to dry.
3. We then put it in the planer so that both sides were smooth and even.
4. Then we sanded it until it was smooth.
5. We drilled the 3 hols in the back and the 2 in the front so later we could add the pieces to complete it.
6. We added 2 coats of danish oil.
Reflection
This project was fun the part I struggled with was probably planing the piece because we had to do it a bunch of times to get it really flat on both sides. But I did learn how to use the planer through doing this. Overall I think these look really nice and professional. Im surprised by how easy it was and I'm really proud of how it looks even though it's not finished yet.
